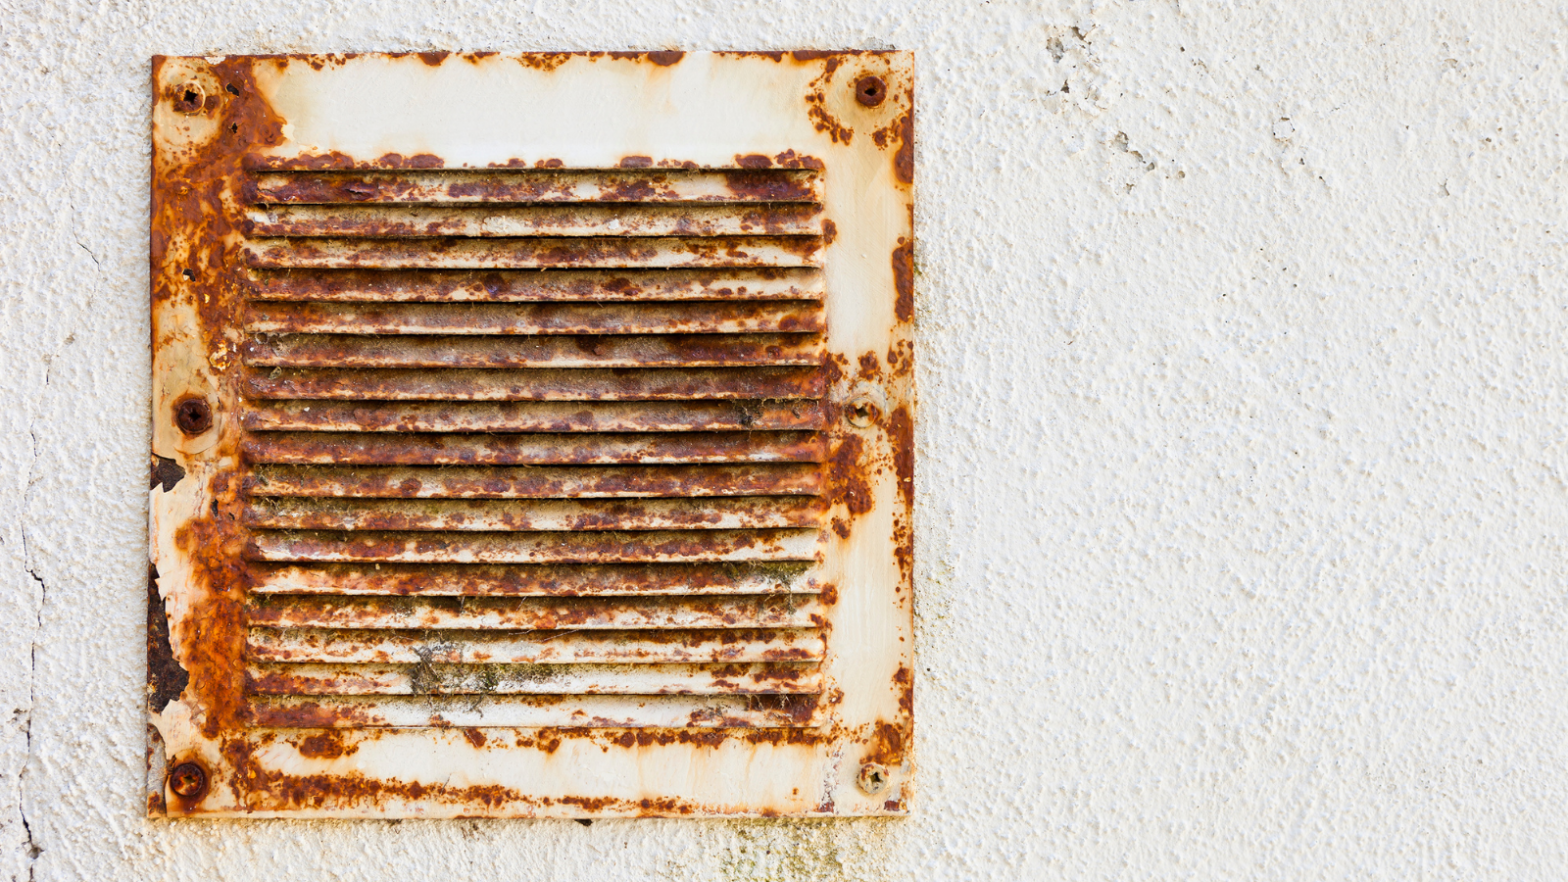
Whether your vent covers are old, painted over, worn down, or you simply want an upgrade for better aesthetics. The right vent cover can provide the highest level of airflow, which is essential to both energy efficiency and temperature control. The appearance of the right vent cover can significantly improve the appearance of any room as well. Fortunately, it is rather easy to replace heat vent covers yourself.
1. Remove the existing vent:
By unscrewing it and gently wiggling the edges to remove the cover. We recommend wearing gloves if possible, to avoid cutting yourself on the edges, which at times can be sharp. You might need to run a straightedged razor between the cover and wall in order to not pull paint from the wall. If the screws have paint over them, use an awl to dig out the paint and clear out the screw head.
2. Measure the opening:
Once you’ve removed the vent cover, we suggest measuring the wall opening as well as the vent cover itself.
3. Choose Vent Cover:
After measuring, the next step is to choose what type of vent cover you would like to use.
Vent cover options
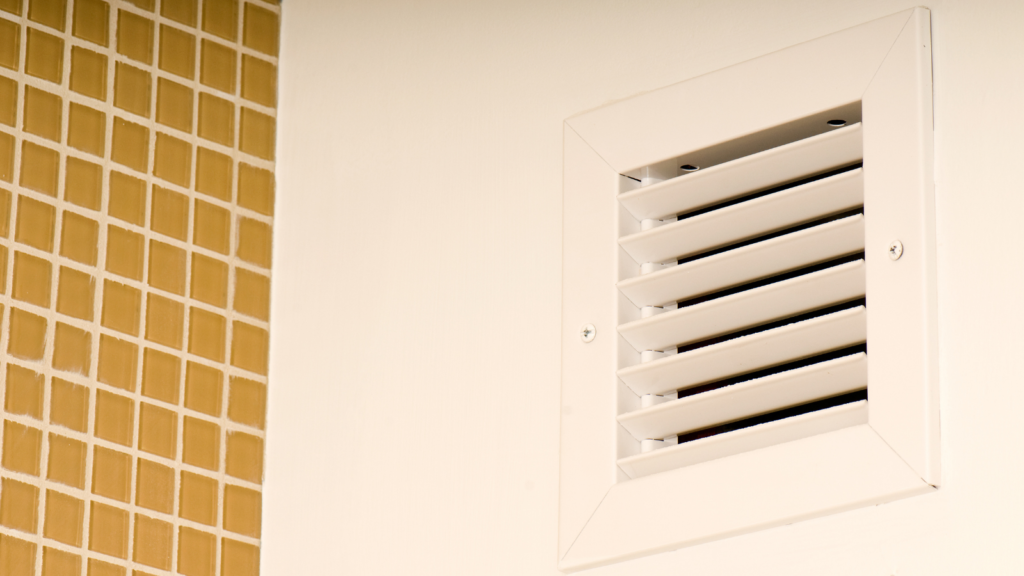
Simple vent grill:
This is the most common type of vent cover. These covers are a basic design with no added features.
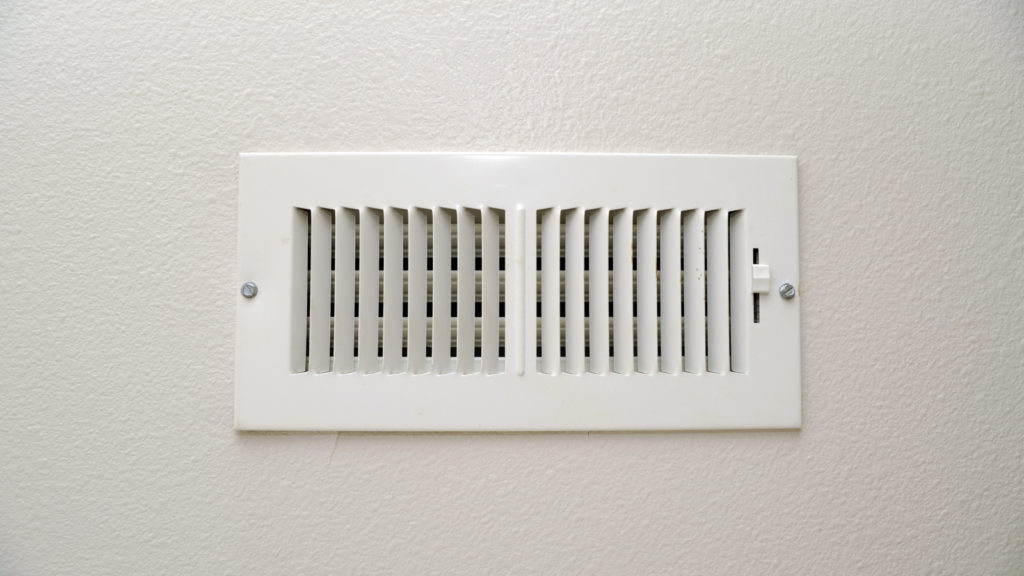
Adjustable vent covers:
This vent cover is similar to a vent grill; however, it will allow you to adjust the direction of air and increase or decrease the amount of air flowing through the vent.
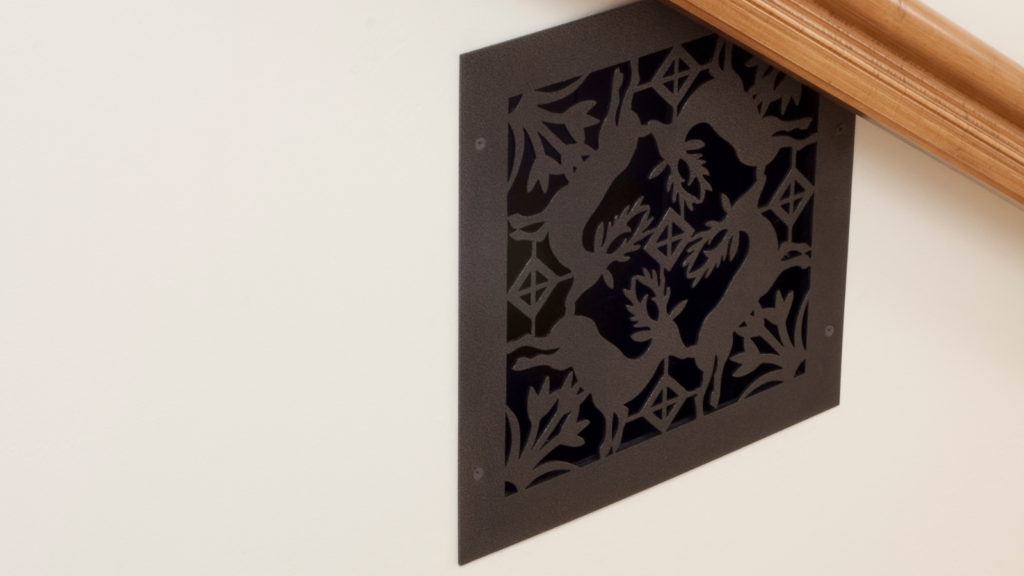
Decorative vent covers:
This type of vent cover is the most attractive variety of vent covers. This option is excellent for creating a cohesive design in a space. Decorative vent covers come in an array of colors and shaped venting holes to match your home’s trim, furniture, and decor.
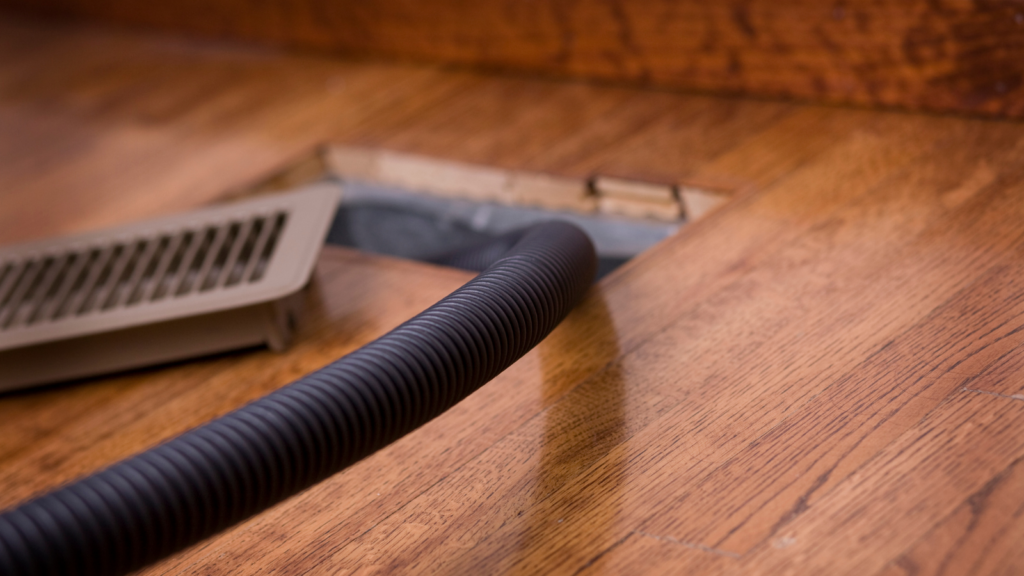
4. Clean out the vent
Over time, debris, dust, and other irritants can build up in vents, therefore, regular cleaning is essential to maintaining high air quality. Use the hose of your vacuum to reach as far into the vent as possible. This cleaning process is especially beneficial if you have allergies.
5. Insert plastic screw anchors
Using the existing holes in the new vent, insert screw anchors, if needed.
6. Installation:
Install the new vent and screw in tightly to ensure it will not fall off. This can take some adjustments to ensure the cover is straight and flush with the wall, floor or ceiling.
If your question wasn’t answered here, contact the Pierce Refrigeration team, and one of our experts will guide you in finding your solution.
Need 24-7 emergency service? Contact the friendly staff at Pierce Refrigeration at 800-696-1088.